Product Presentation
Welcome to the SparkTest Device User Manual. This guide is designed to provide you with information on how to use the web-based management system to make the most of your product.
Please follow the instructions to ensure proper operation of your equipment.
System Access
Access the Sparktest control panel via the URL: https://sparktest.fhost.com.br/
Later, the address can be adjusted to the customer’s domain, if desired.
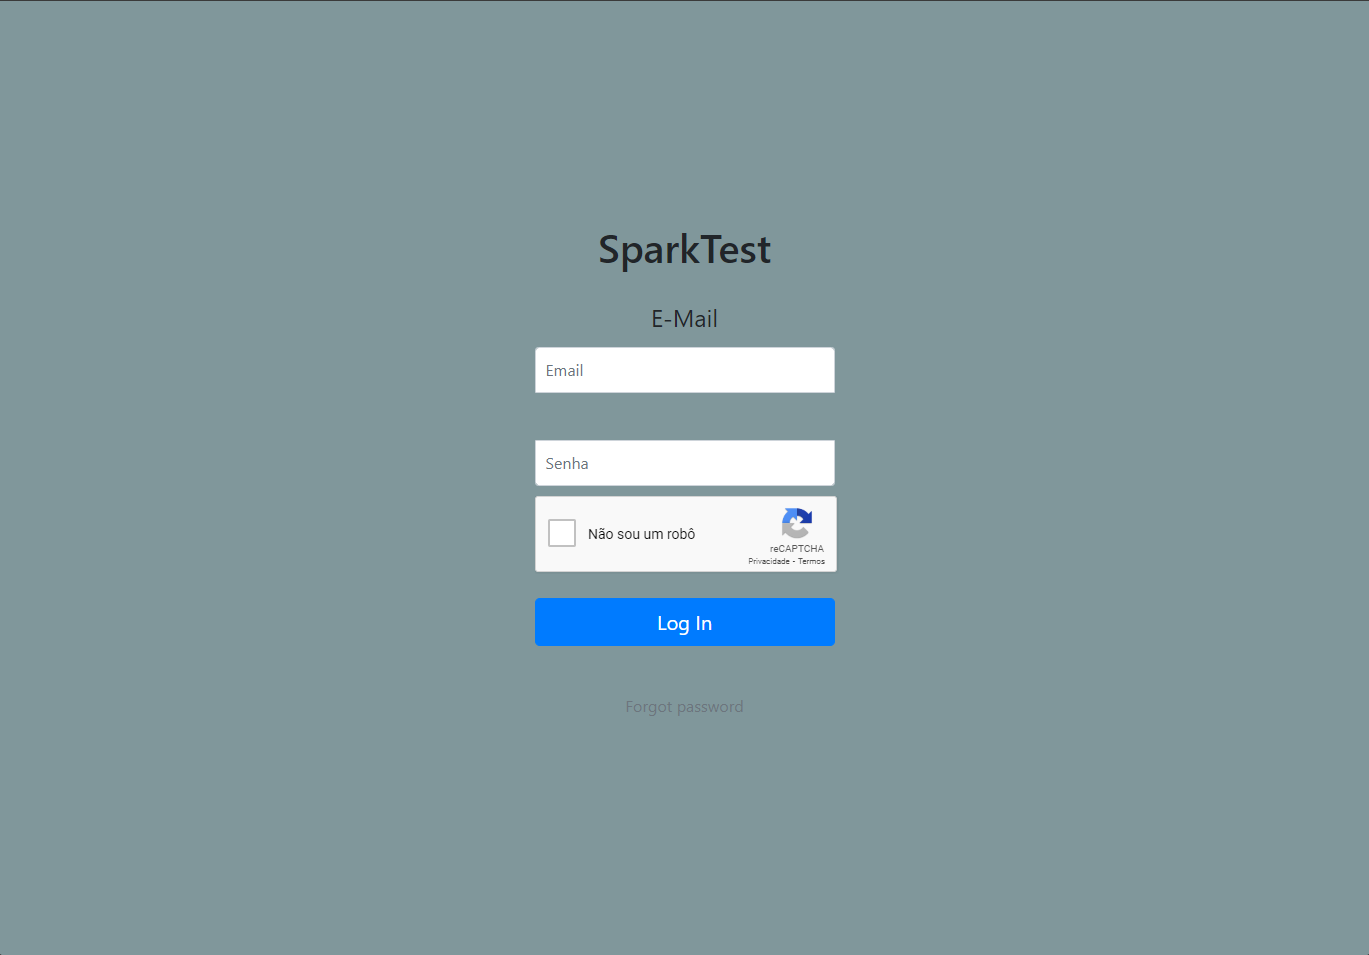
Log in using your email address and password, which must have been previously registered by an system administrator.
If you need to recover or change the password for an account that has already been registered, use the “Forgot password” option on the home page.
Tests Listing
After logging in, the system will redirect you to the tests listing. You can check all tests already performed, view information such as data, status, duration, temperature setpoint, selected boxes and operator.
You can also access the test dashboard, view data, charts, results, reports, etc.
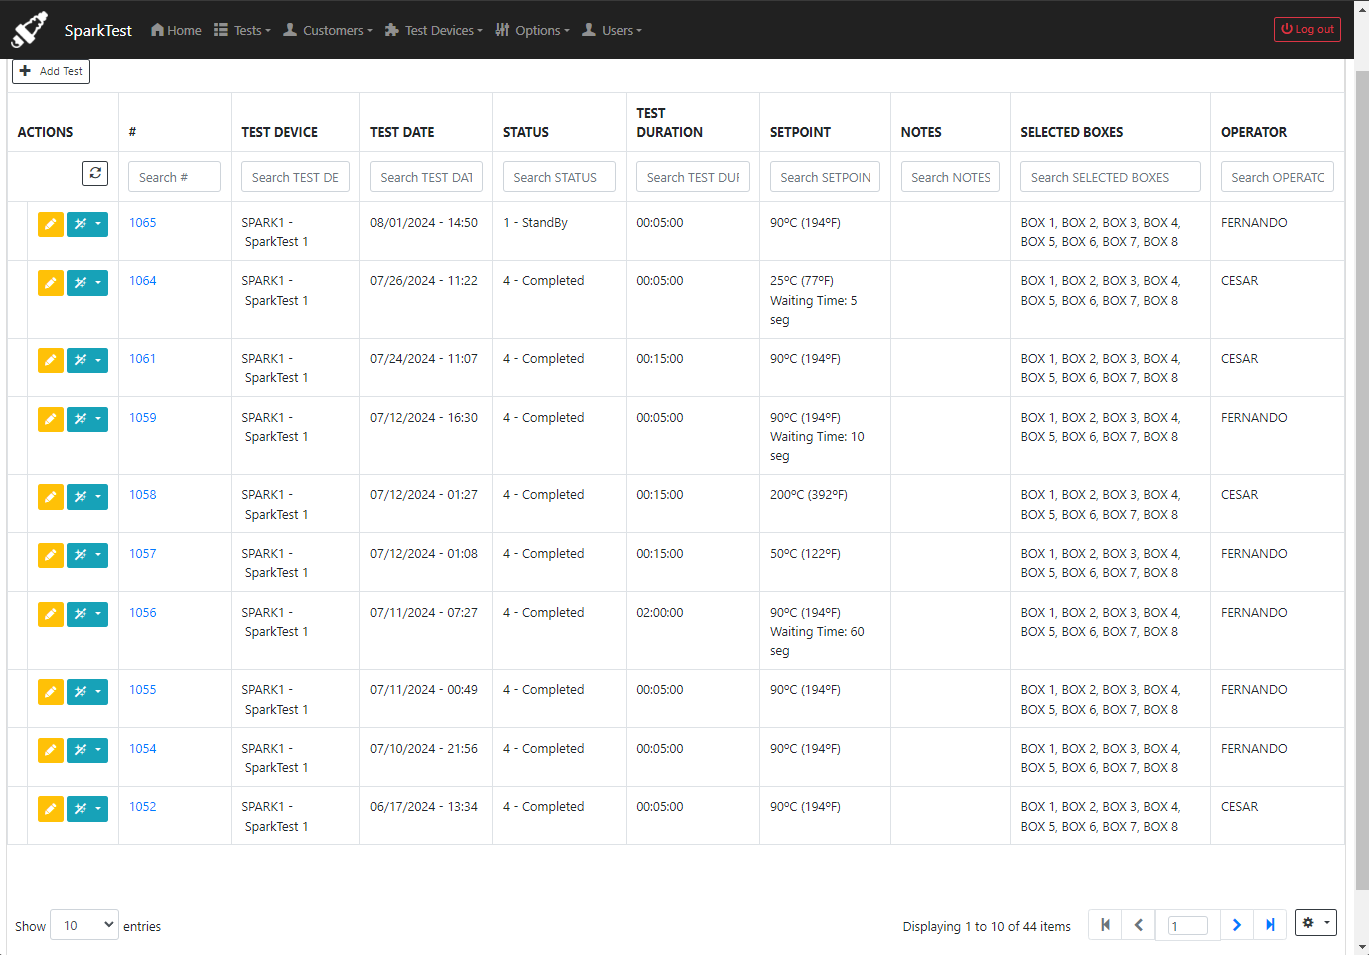
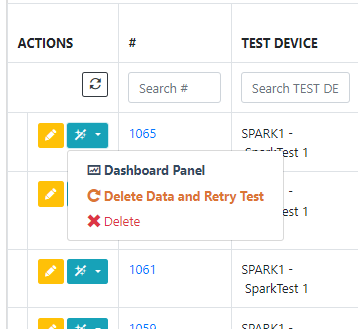
On the same screen, by clicking on the blue button, you can:
– Delete the data to re-run a test already existing.
– Delete the test from the list.
– Access the Test Dashboard.
Include a New Test
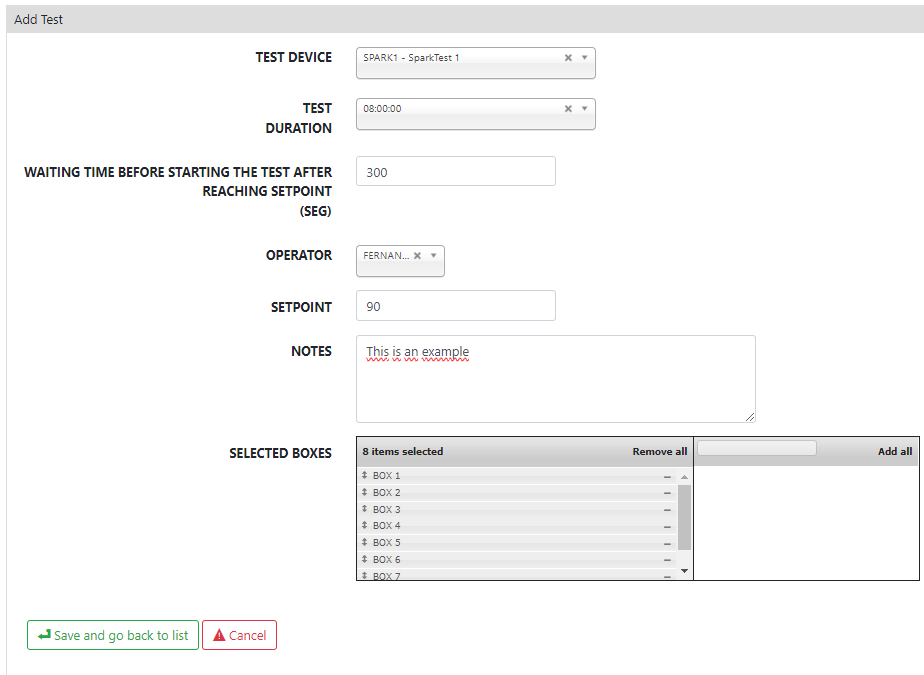
To include a new test, click on “Add Test” and fill all information:
– Test Device.
– Duration.
– Waiting Time Before Starting Test after Setpoint.
– Operator.
– Setpoint.
– Notes.
– Select the boxes for testing.
Dashboard Panel
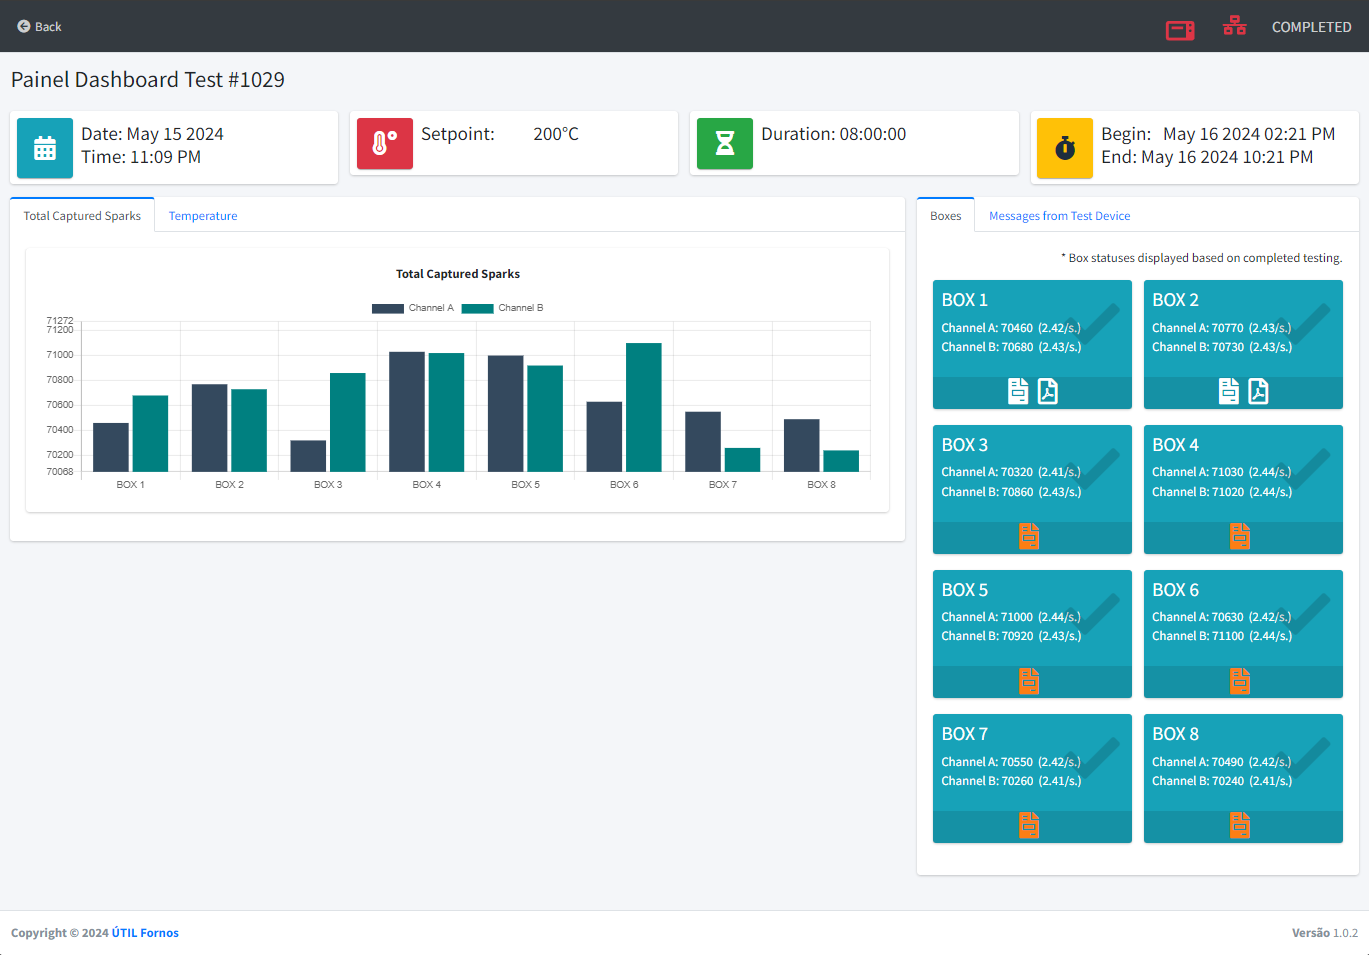
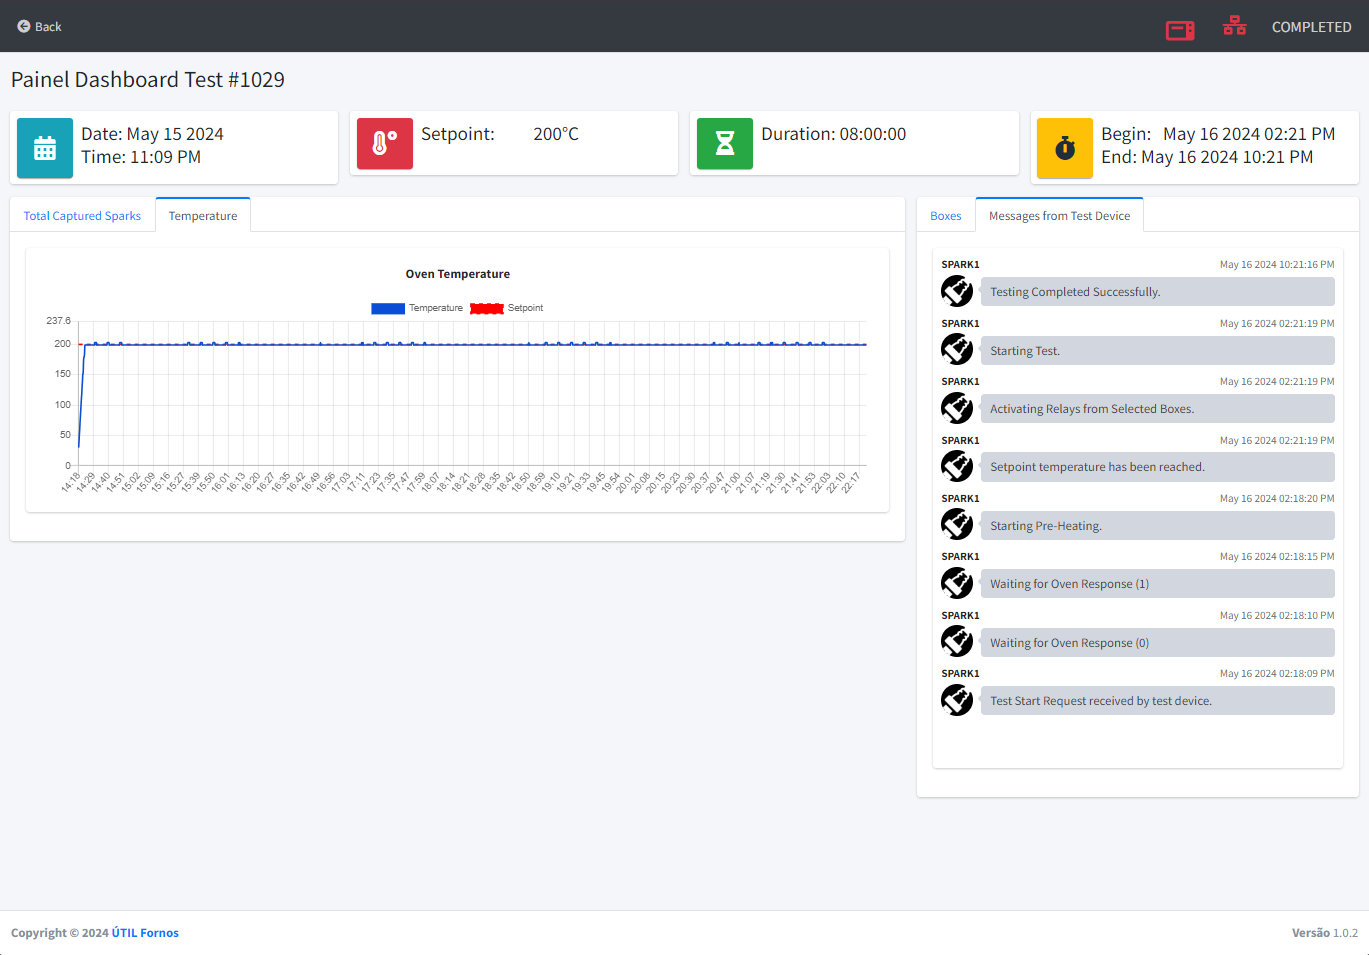
In the Dashboard Panel you can:
– Command the test device to start, end or stop the execution of a test.
– Obtain the real-time status of the test device (Online or Offline).
– Obtain the real-time status of the box sensors (tests with “StandBy” or “In Progress” status).
– Tests with “Completed” status will display the Box Status according to the history of the moment the test was performed, i.e. it is not reported in real time, serving as a history for future reference.
– View the number of sparks captured by the test device in graph format.
– General information about the test, date and time, setpoint, duration, waiting time, etc.
Messages from Test Device
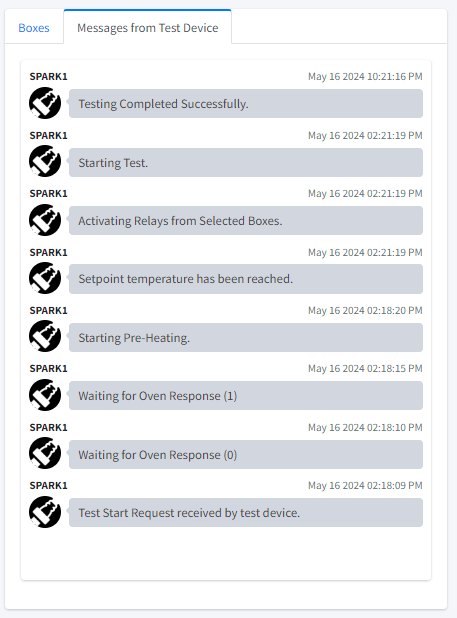
You can track the progress of the test device commands using the “Messages from Test Device” tab.
You can also view error messages or other important information regarding the test progress.
The most recent messages appear at the top of the list.
Registration of Box Data
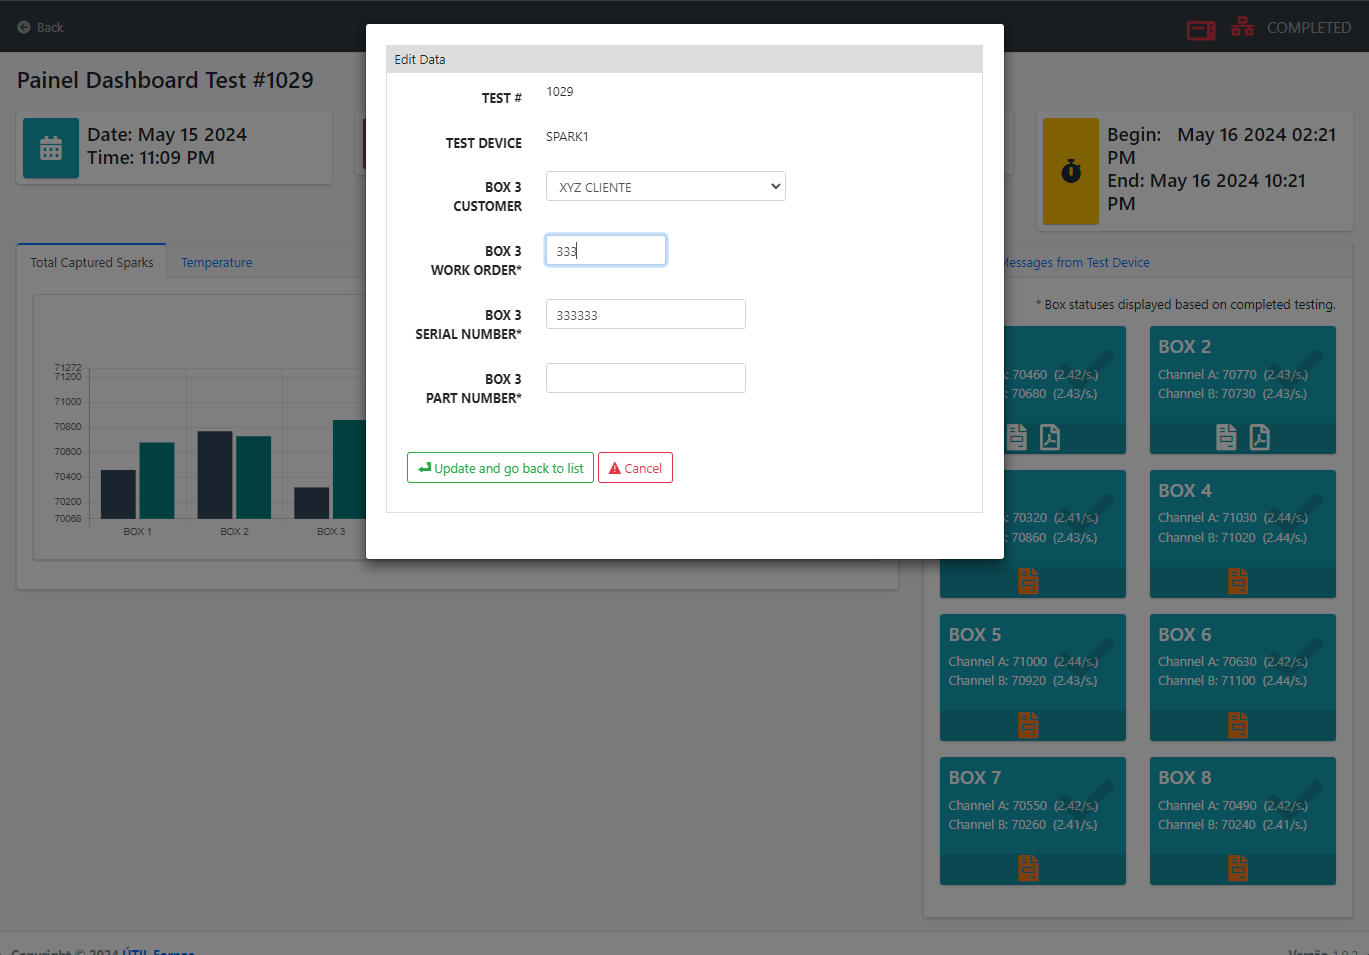
Each box allows you to register the following data:
– Customer (must be previously registered in the system in the “Customers” option in the top menu).
– Work Order
– Serial Number
– Part Number
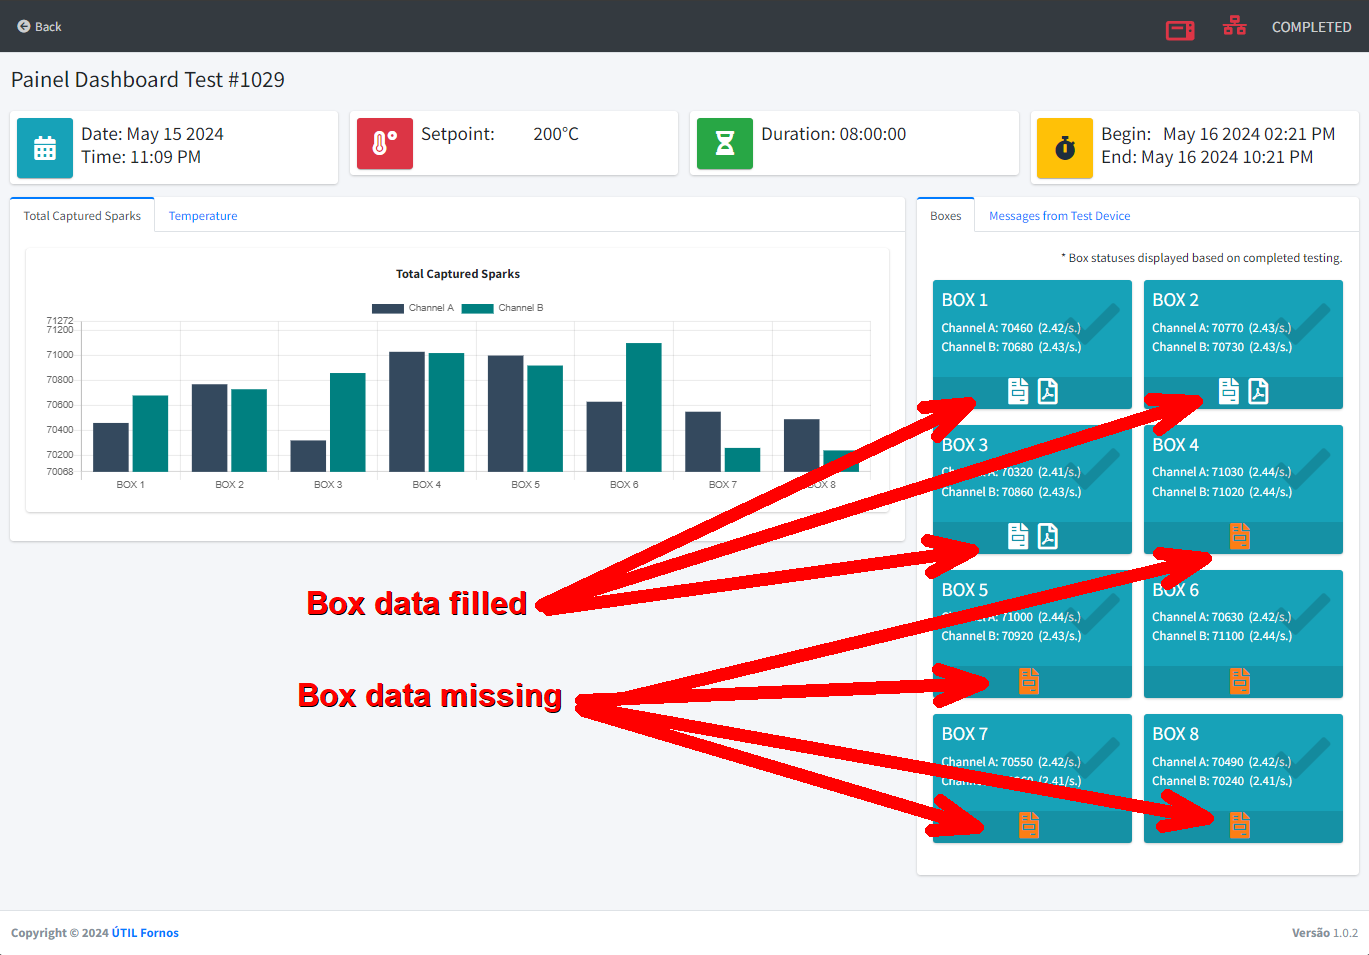
Boxes with correctly filled data appear with “white” icons.
Boxes without information filled appear in “orange“.
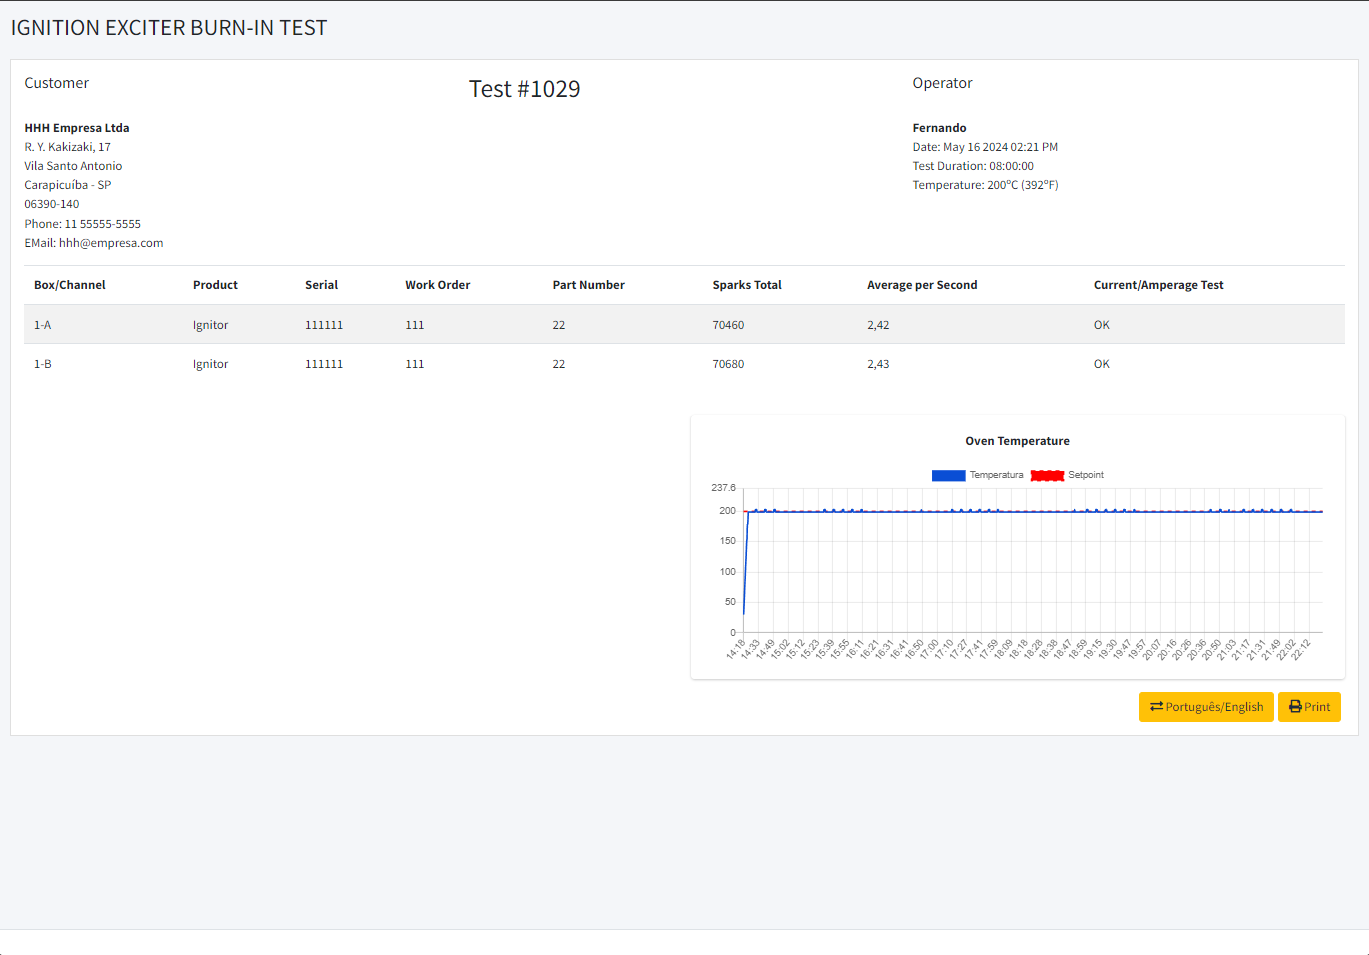
Note: The link (PDF icon) to Test Report for the boxes is only visible and accessible for boxes with correctly filled data and only for tests with “Completed” or “Error” status.
It is not possible to access the report for tests with “StandBy” or “In Progress” status.
Starting a Test
In the Dashboard Panel, the commands will be visible in the right top.
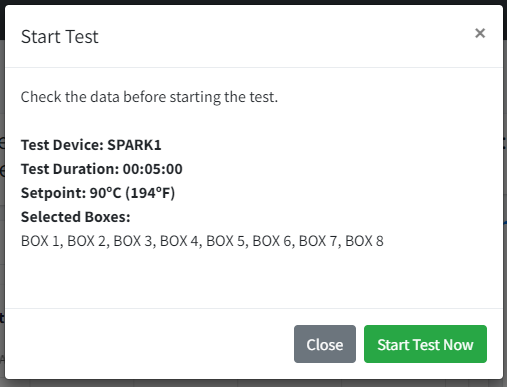
In order to start a new test and enable the command buttons, the following conditions must be satisfied:
- The Test Device and the Oven must be turned on and connected to the Internet so they will be detected as Online.
- No other tests can be running on the same selected Test Device.
- Comparison between the boxes detected by the Test Device and the boxes selected for the test must be the same. Example: If only box 1 is selected for testing, the Test Device must detect only box 1. The others must be turned off or disconnected.
- The module cannot report any internal errors or failures in communication with the oven.
If the Test Start button is not visible, check if any of the conditions are different.

Stop a Test
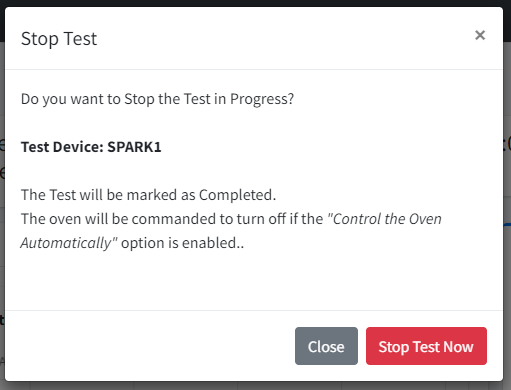
It is possible to stop a running test during the process. The command will be sent to the Test Device and the test will be finished marked as “Completed“.
Click on square red button on top right, and confirm.

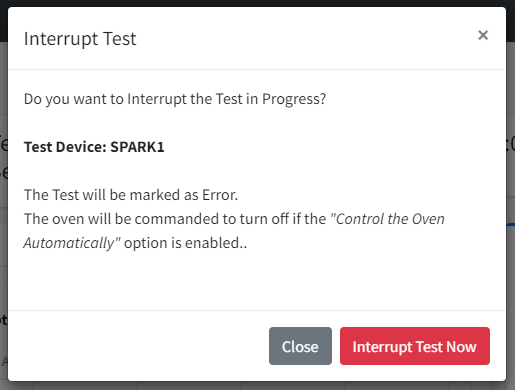
Interrupt a Test
It is possible to interrupt a running test during the process. The command will be sent to the Test Device and the test will be finished marked as “Error“.
Click on X red button on top right, and confirm.

PDF Report
List of Customers
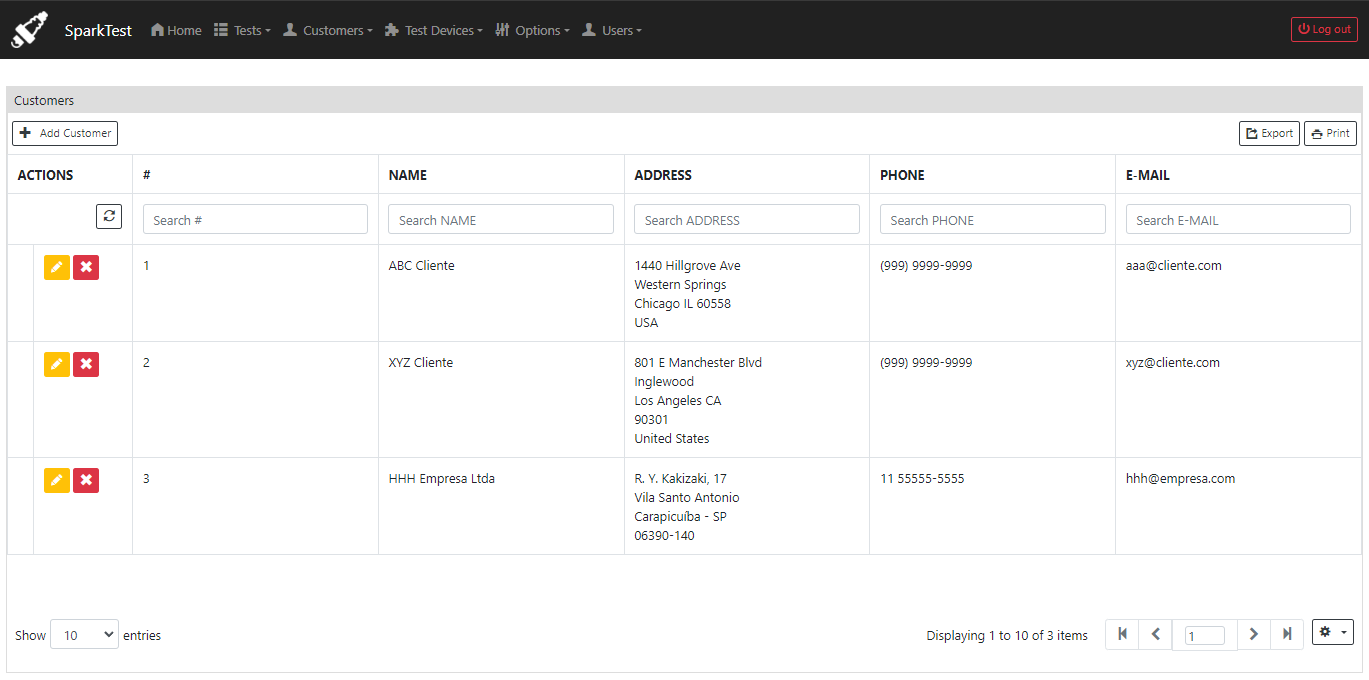
Before associating customers with each of the boxes, they must be registered in the system in the option available in the top menu.
To register a new customer, click on “Ad Customer” and fill in all the data correctly.
Test Devices
The list of available test devices for collecting, controlling and automating tests.
Each test device has a unique Serial Number and is linked to an oven that also has a unique Serial Number, as shown in the image below.

Options – Test Devices Configuration
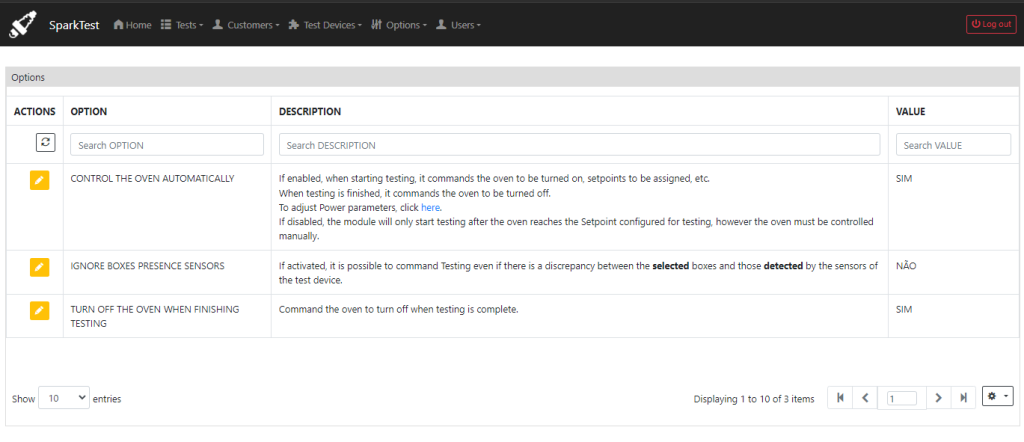
For each set of Test Device and Oven, you can choose a few options.
– Control the Oven Automatically: If enabled, when starting testing, it commands the oven to be turned on, setpoints to be assigned, etc. When testing is finished, it commands the oven to be turned off.
– Ignore Boxes Presence Sensors: If activated, it is possible to command Testing Start even if there is a discrepancy between the selected boxes and those detected by the sensors of the test device.
– Turn Off Oven when finishing testing: Command the oven to turn off when testing is complete.
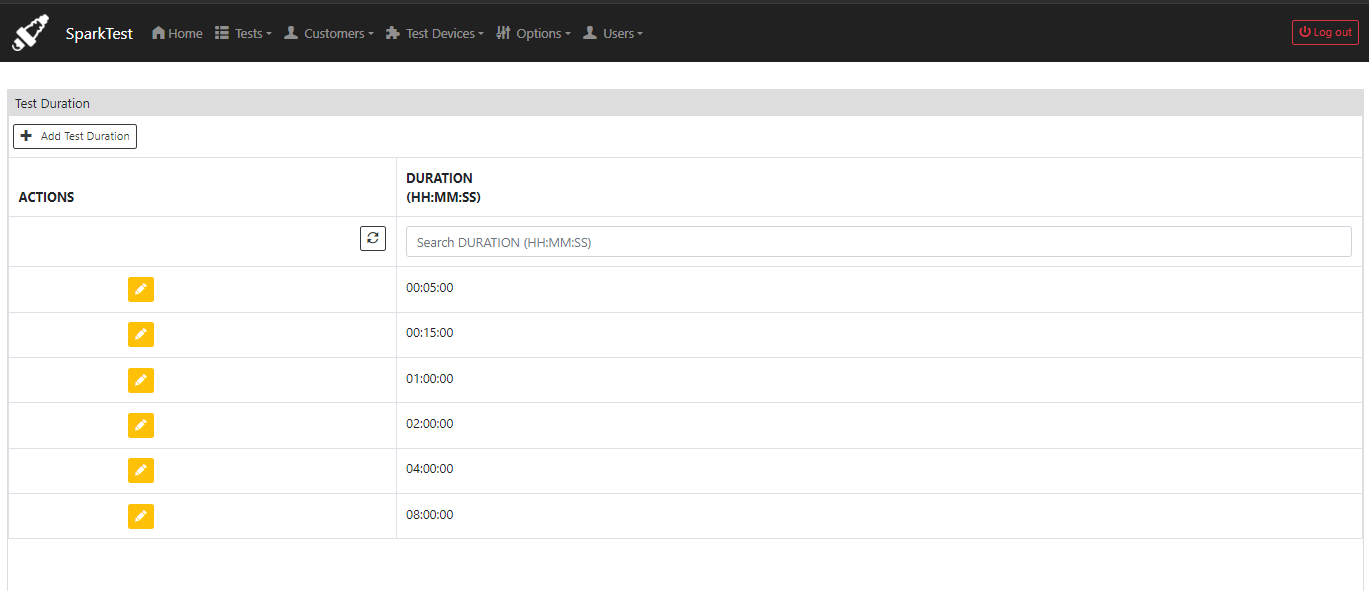
Options – Test Duration
The duration of the tests must be previously registered in the system.
Always use the format: HH:MM:SS.
Example: 08:00:00 for eight hours of testing.
Before registering a new test duration, check that it does not already exist.
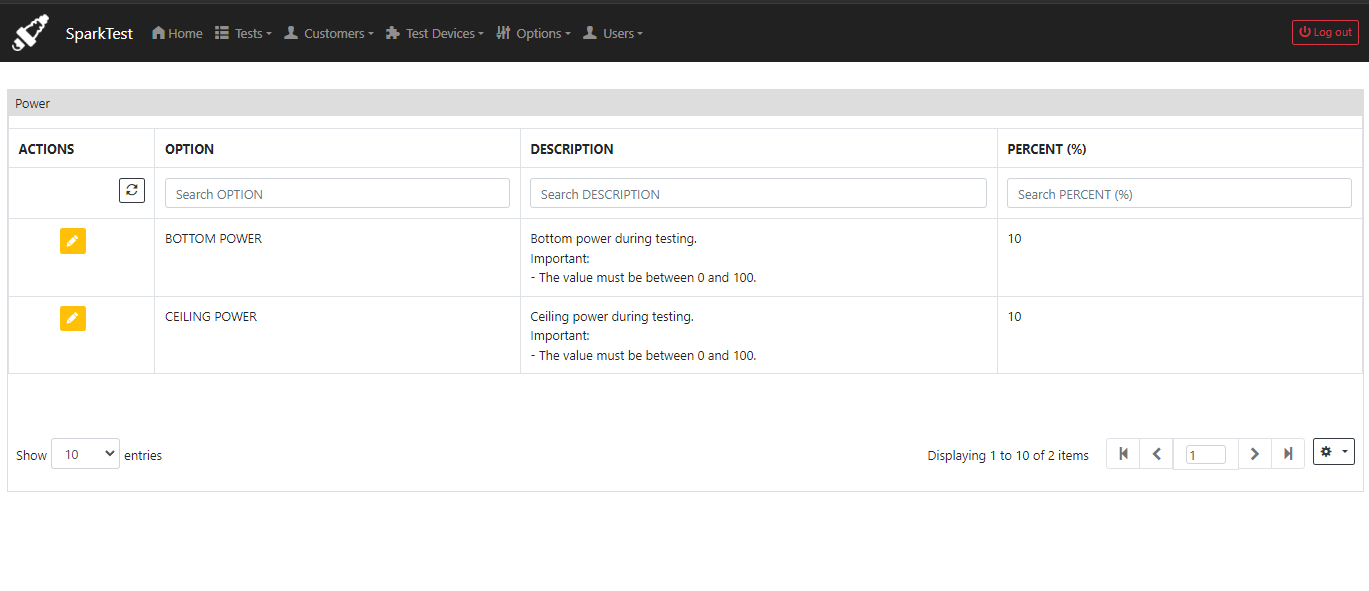
Options – Oven Power
If the “Control the oven automatically” option is enabled, you must set the desired Power.
The value is a percentage and must be between 0 and 100 (numbers only).
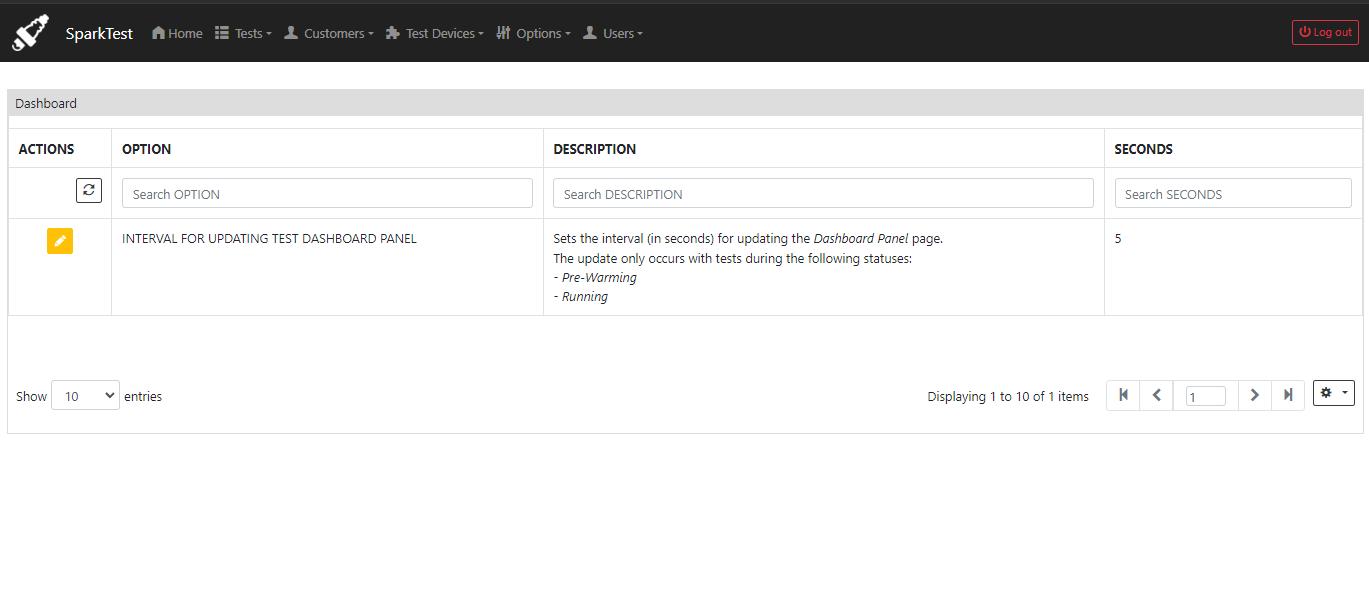
Options – Dashboard Panel
Sets the interval (in seconds) for updating the Dashboard Panel page.
The update only occurs with tests during the following status:
– Pre-Heating
– In Progress
List of Users
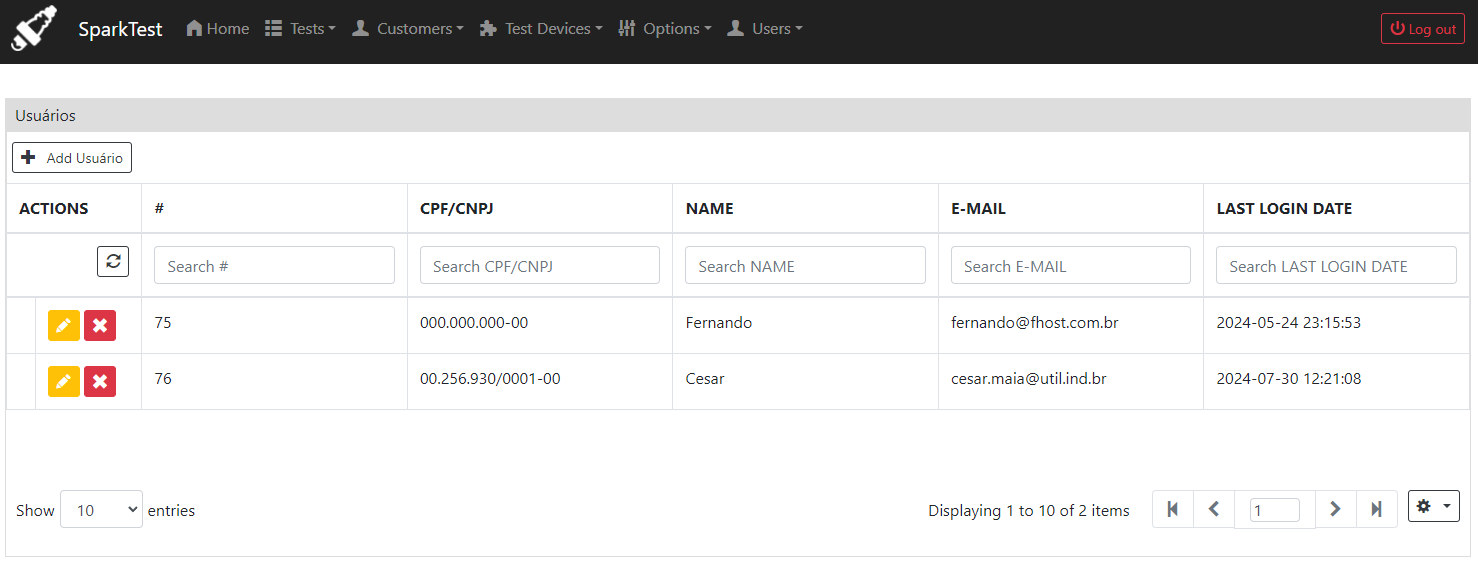
It is possible to register multiple users for the system in the “Users” option in the top menu.
To include a new user, fill in all the data.
It is possible to edit users, but the password change must be requested by the user himself, providing the e-mail and CPF/CNPJ of the registration. The link to change the password will be sent to the e-mail provided.
